Door Test

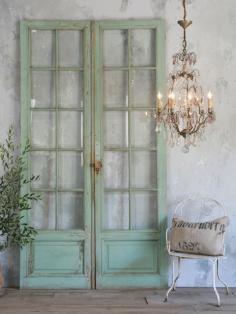
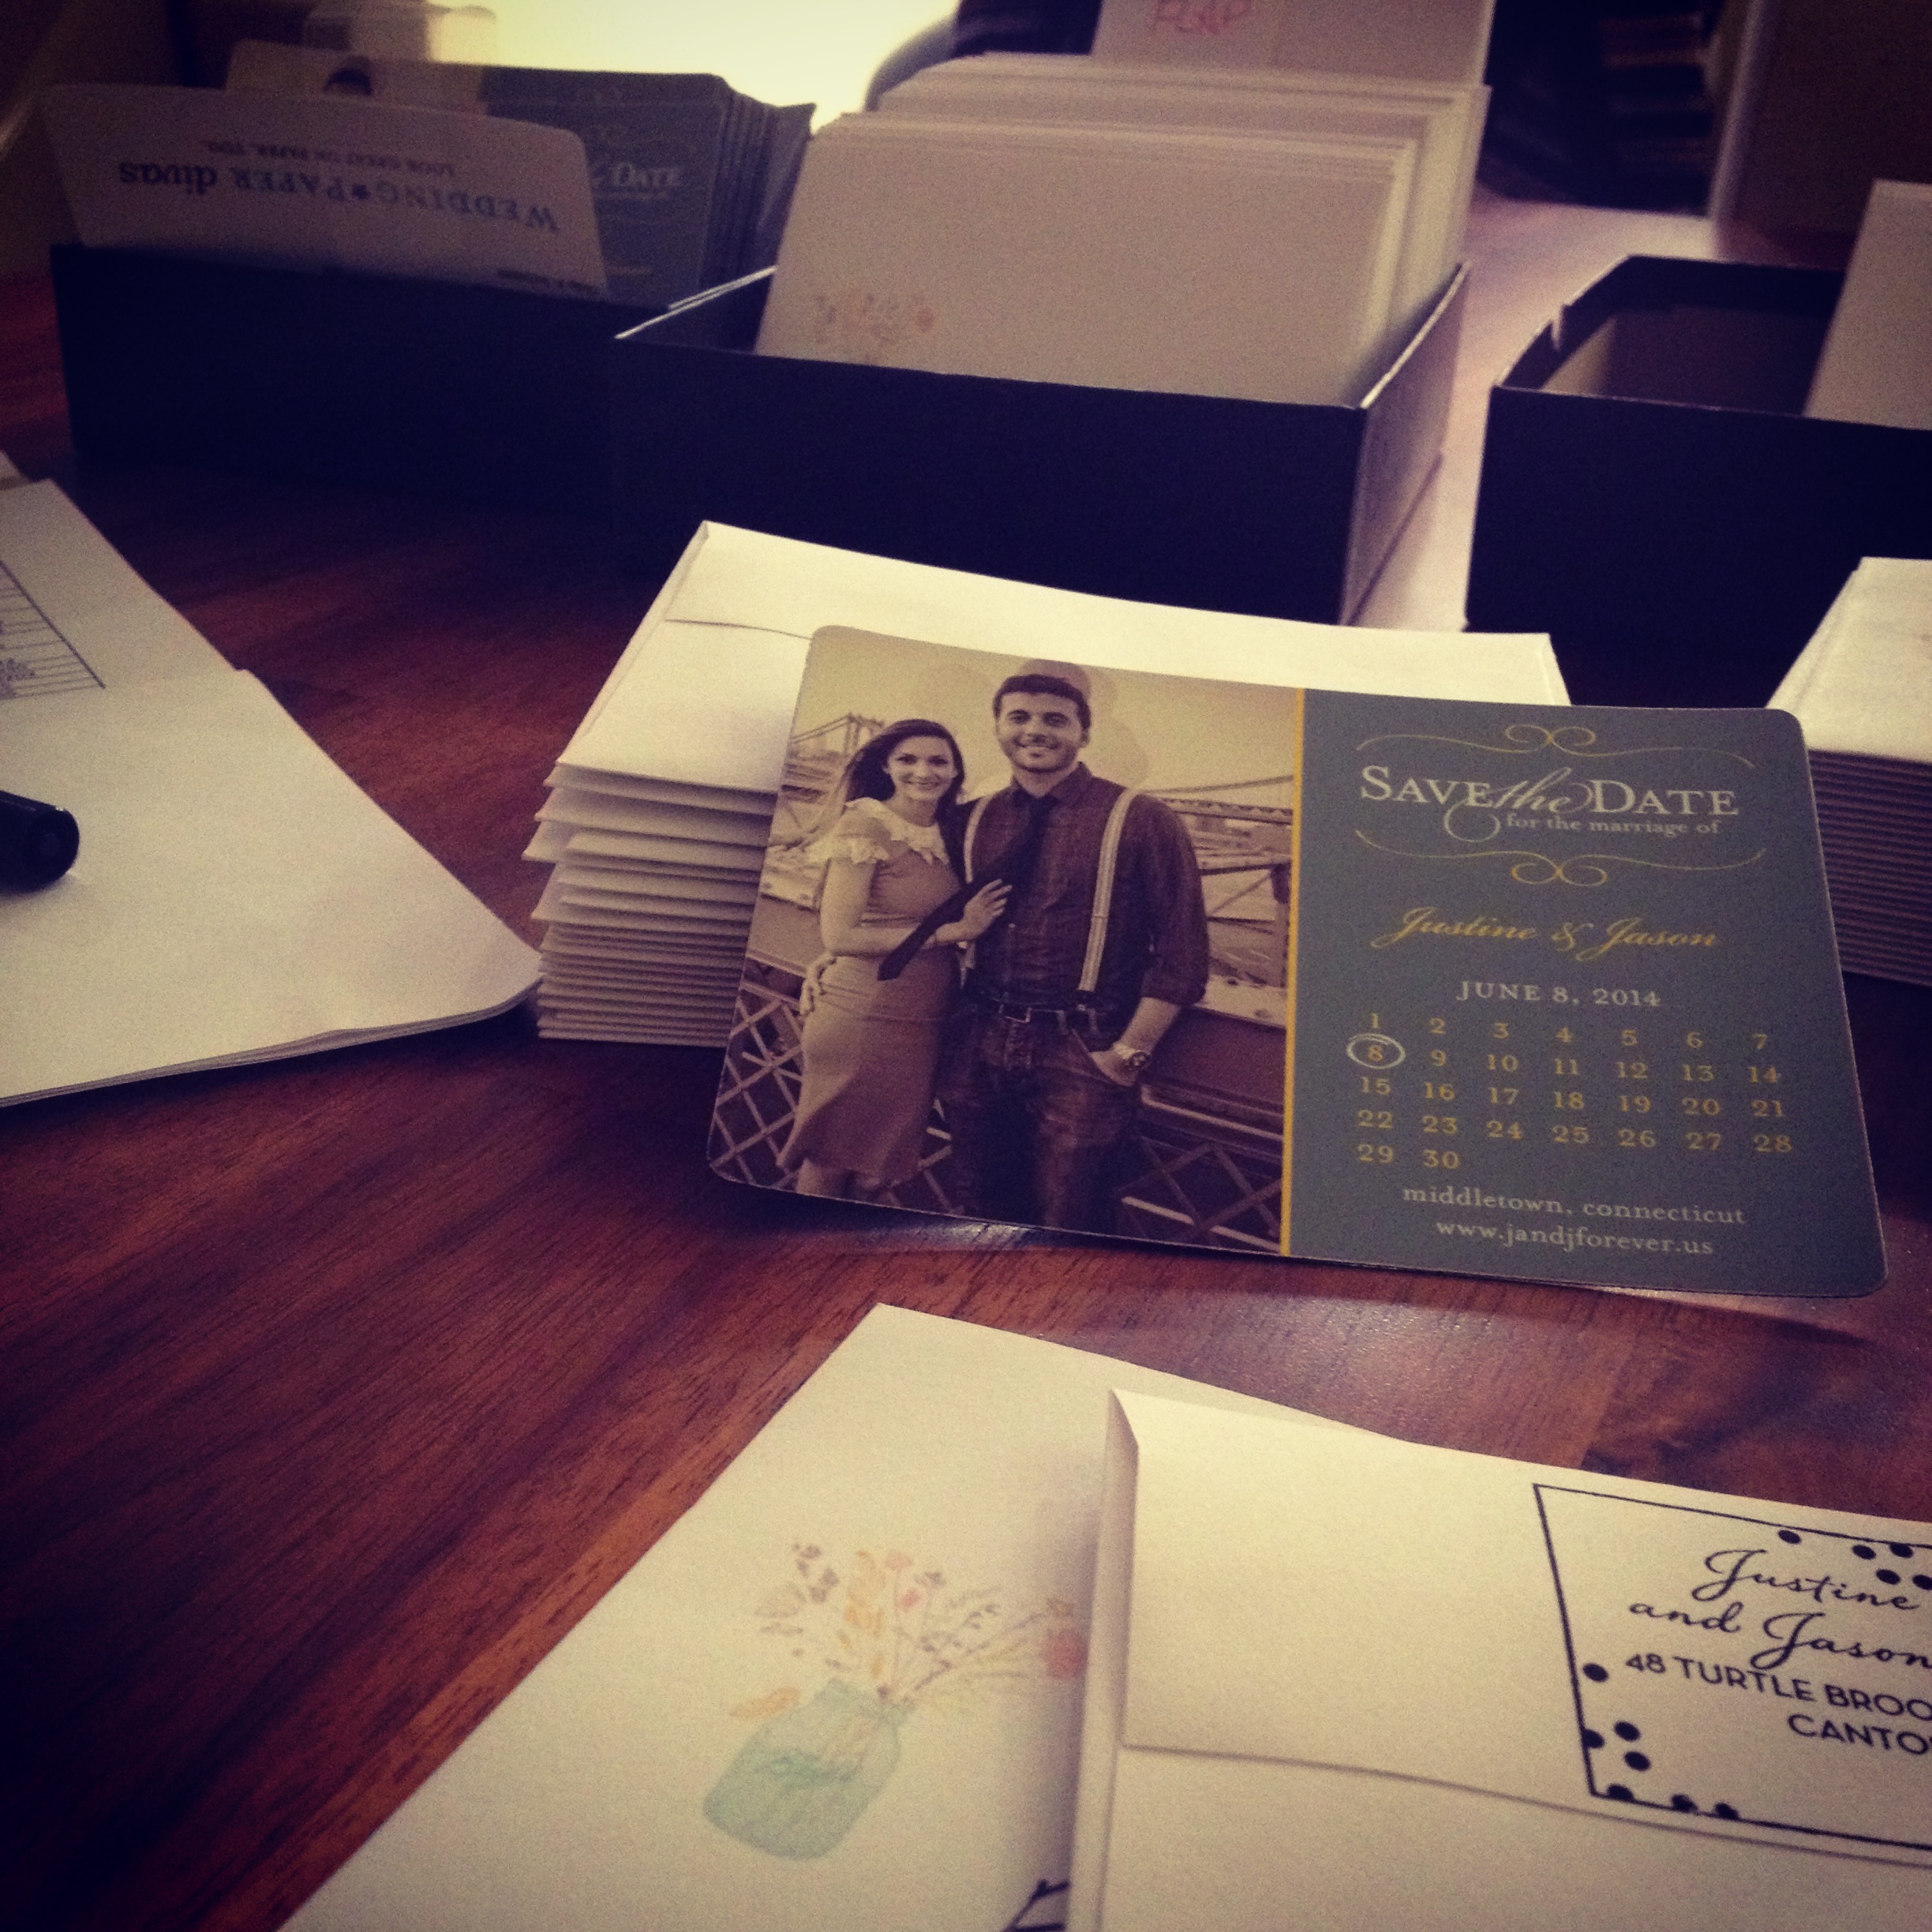
Well, it’s been a couple weeks and I’m still obsessing over the idea of making a “vintage” door for our wedding.  I decided this weekend, before going out an buying a door, paint, and spending money I don’t have, I should do a test run to make sure it is even going to work out.  I thought I would share what I did because you can basically do this to any furniture, shelf, door, etc.

IMG_2297

Some side notes to this project: 1. make sure you are well ventilated.  2. don’t clean your brushes in really hot water because you will breathe in the chemical steam 3. once you have breathed in the chemical steam make sure to freak out and call family members and poison control…ha seriously, I’m a mess!

WHAT YOU NEED:

Brushes – I got some 99c ones
Paint – I used acrylic since it was a small project. You need white and whatever color you like
Wood Stain or brown paint
Sandpaper
Tea Candle

Optional: helper
IMG_2291

DIRECTIONS:

1. Sand your surface.  I used both medium and fine paper.

IMG_2290

2. Paint the white, allow to dry, and then paint the brown, or use stain.

 IMG_2292

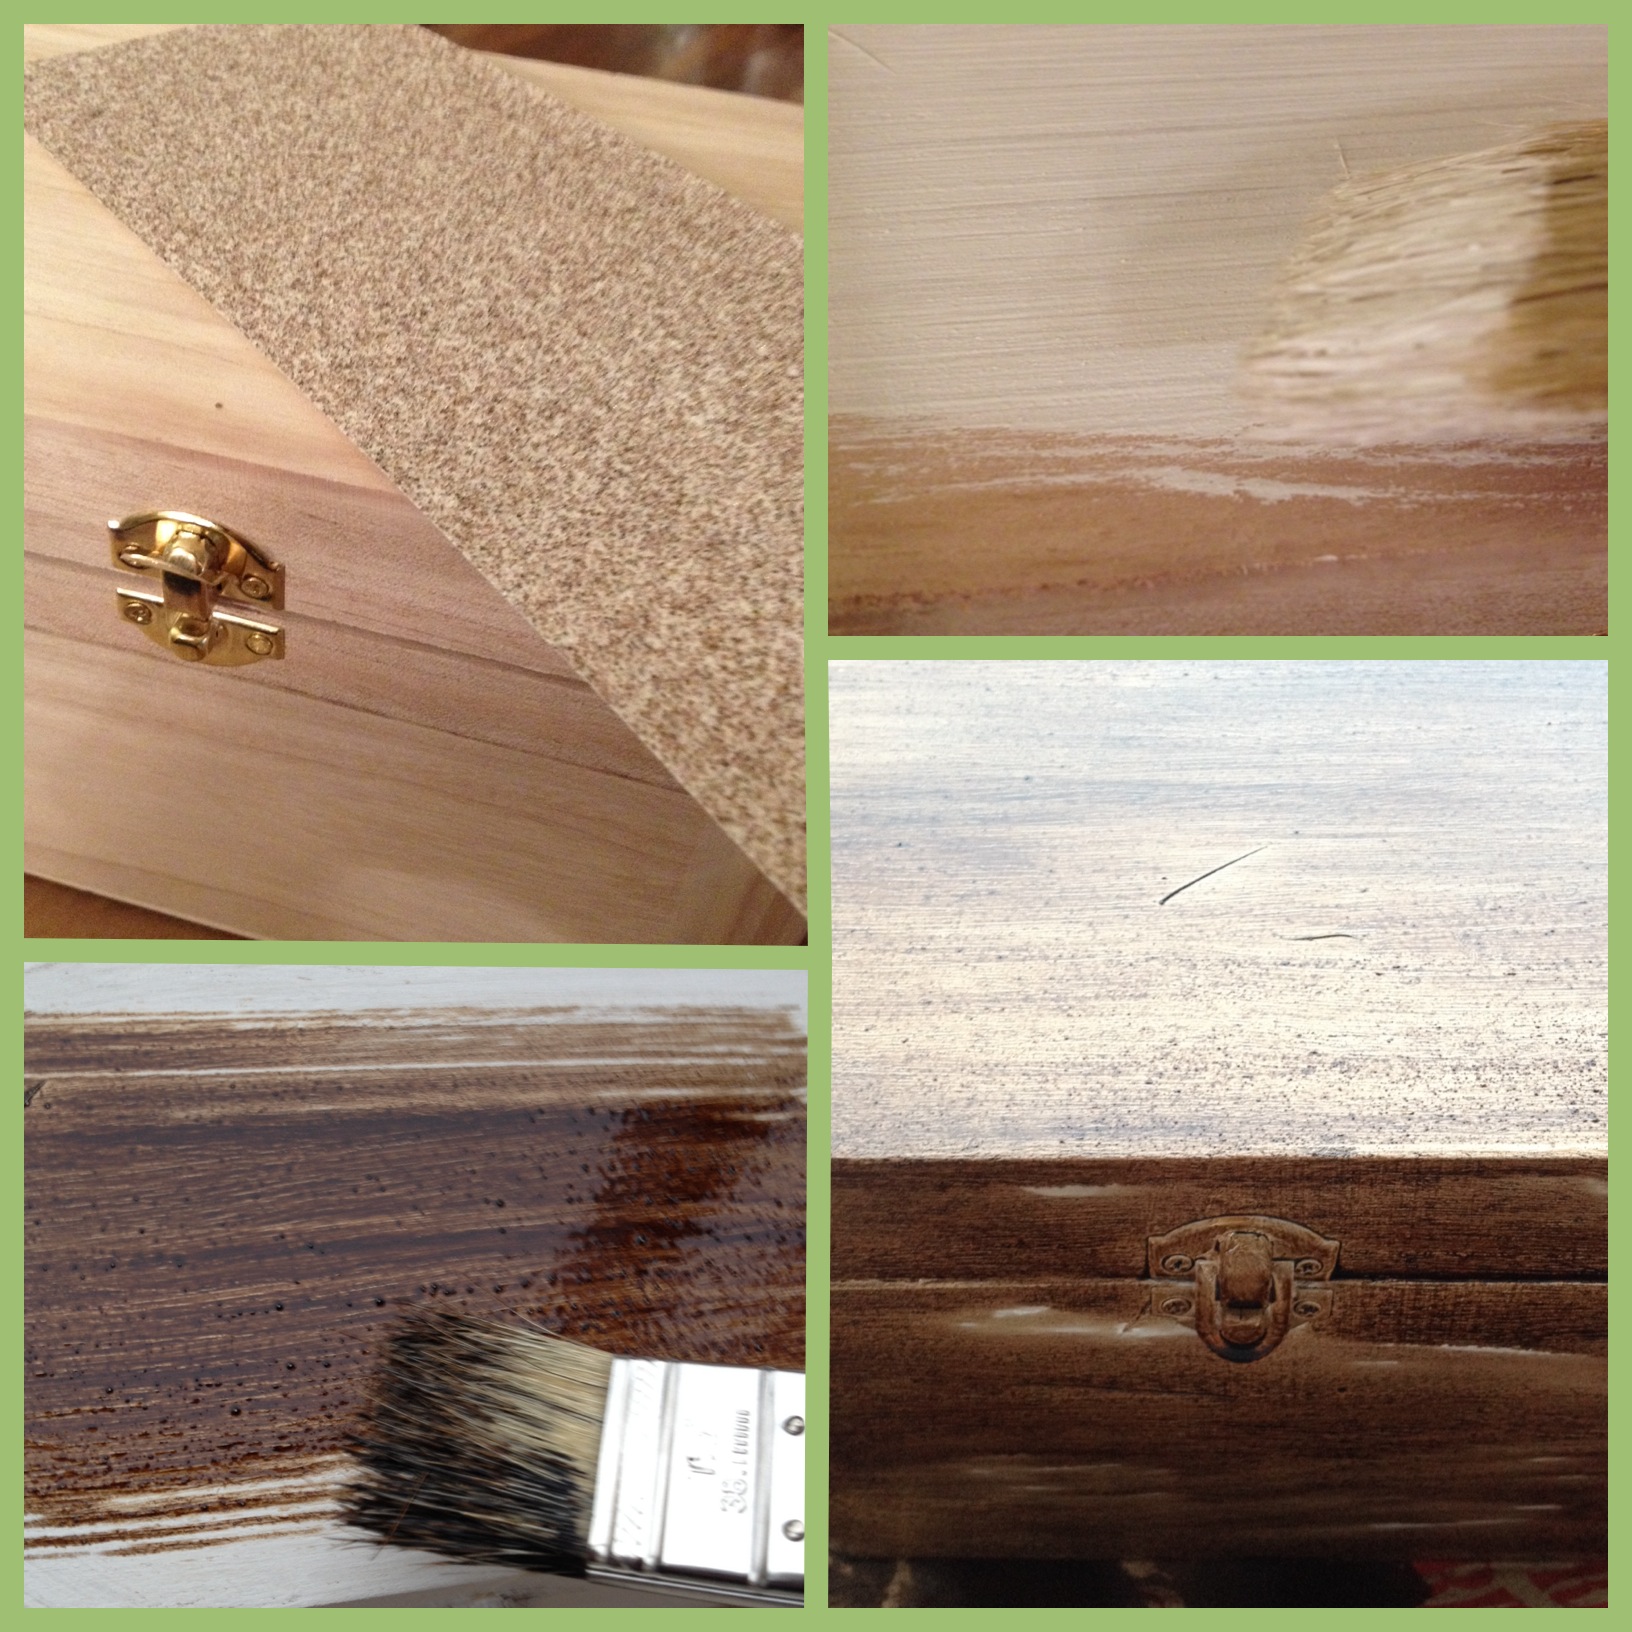
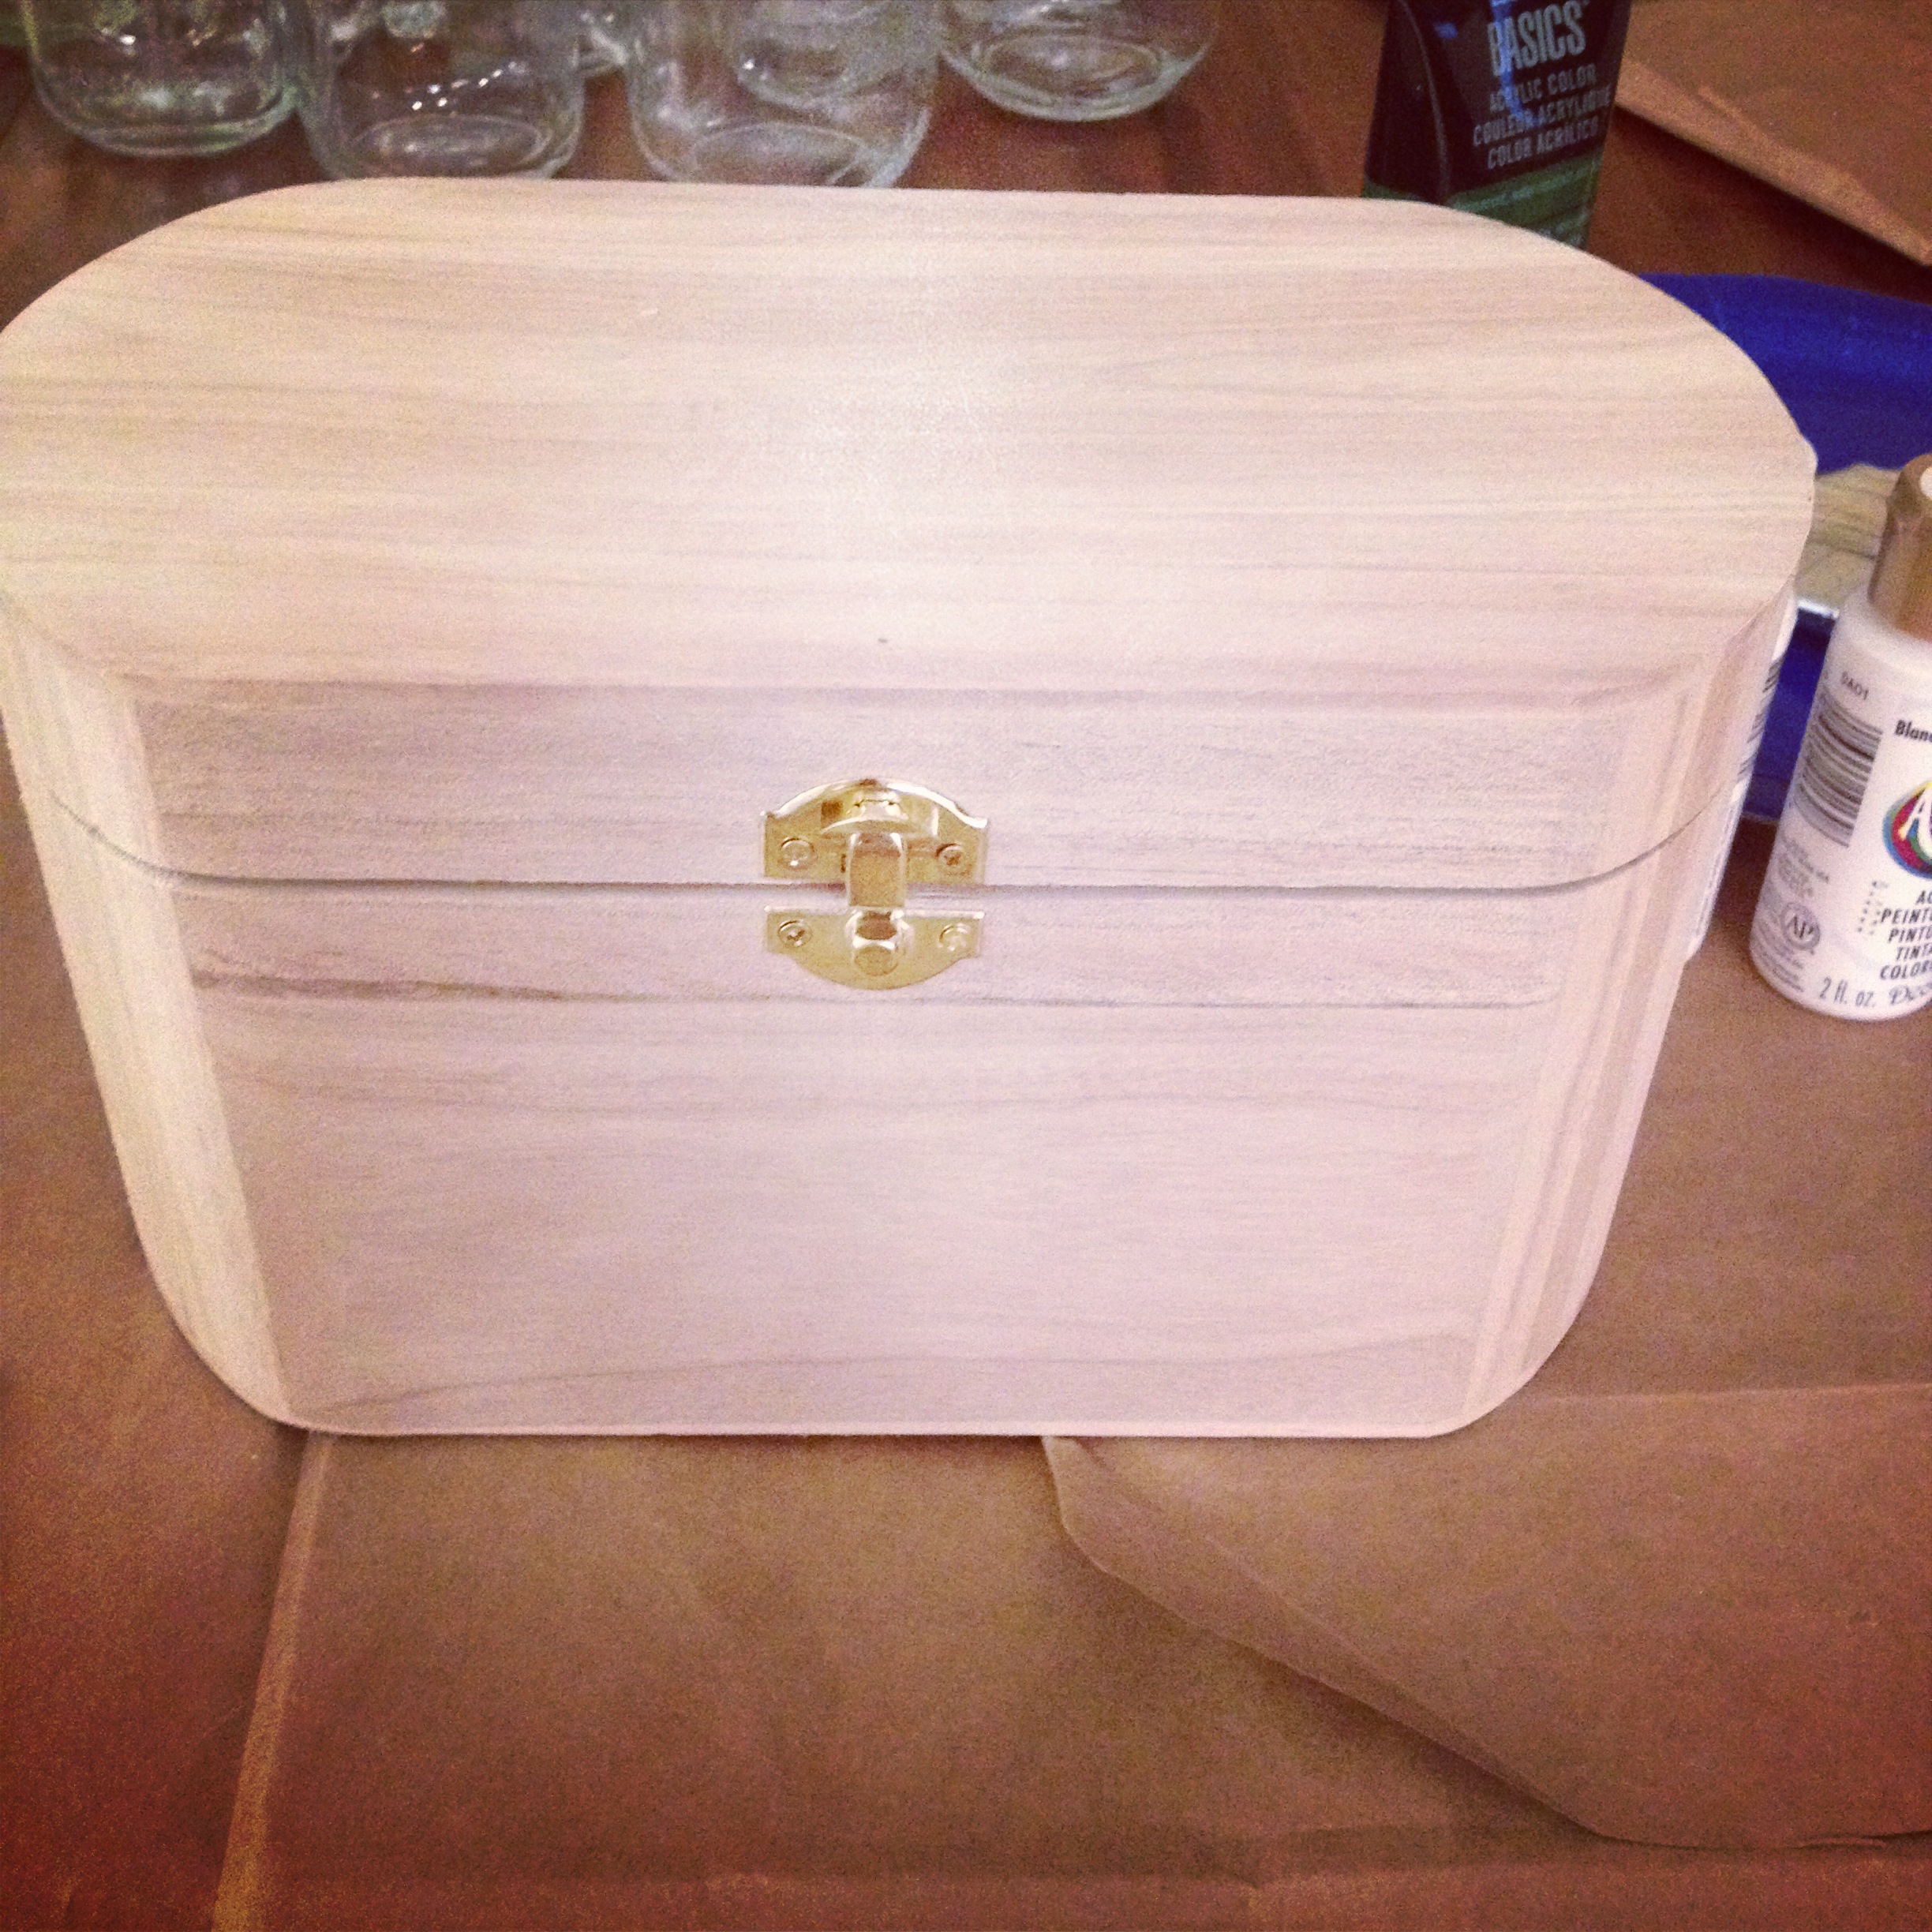
3.  Make sure you have allowed both layers to dry, then give it a bit of a wipe, here is what mine looked like after paint and stain:

IMG_2293

4. Take the tea candle and rub the wax off on any surface you are going to want to look old and come through the color.  I did this on the edges, by the clasp, and throughout the box in different places.

IMG_2294

5.  Wipe off excess wax bits lightly with a clean brush, and then paint your color.

IMG_2295

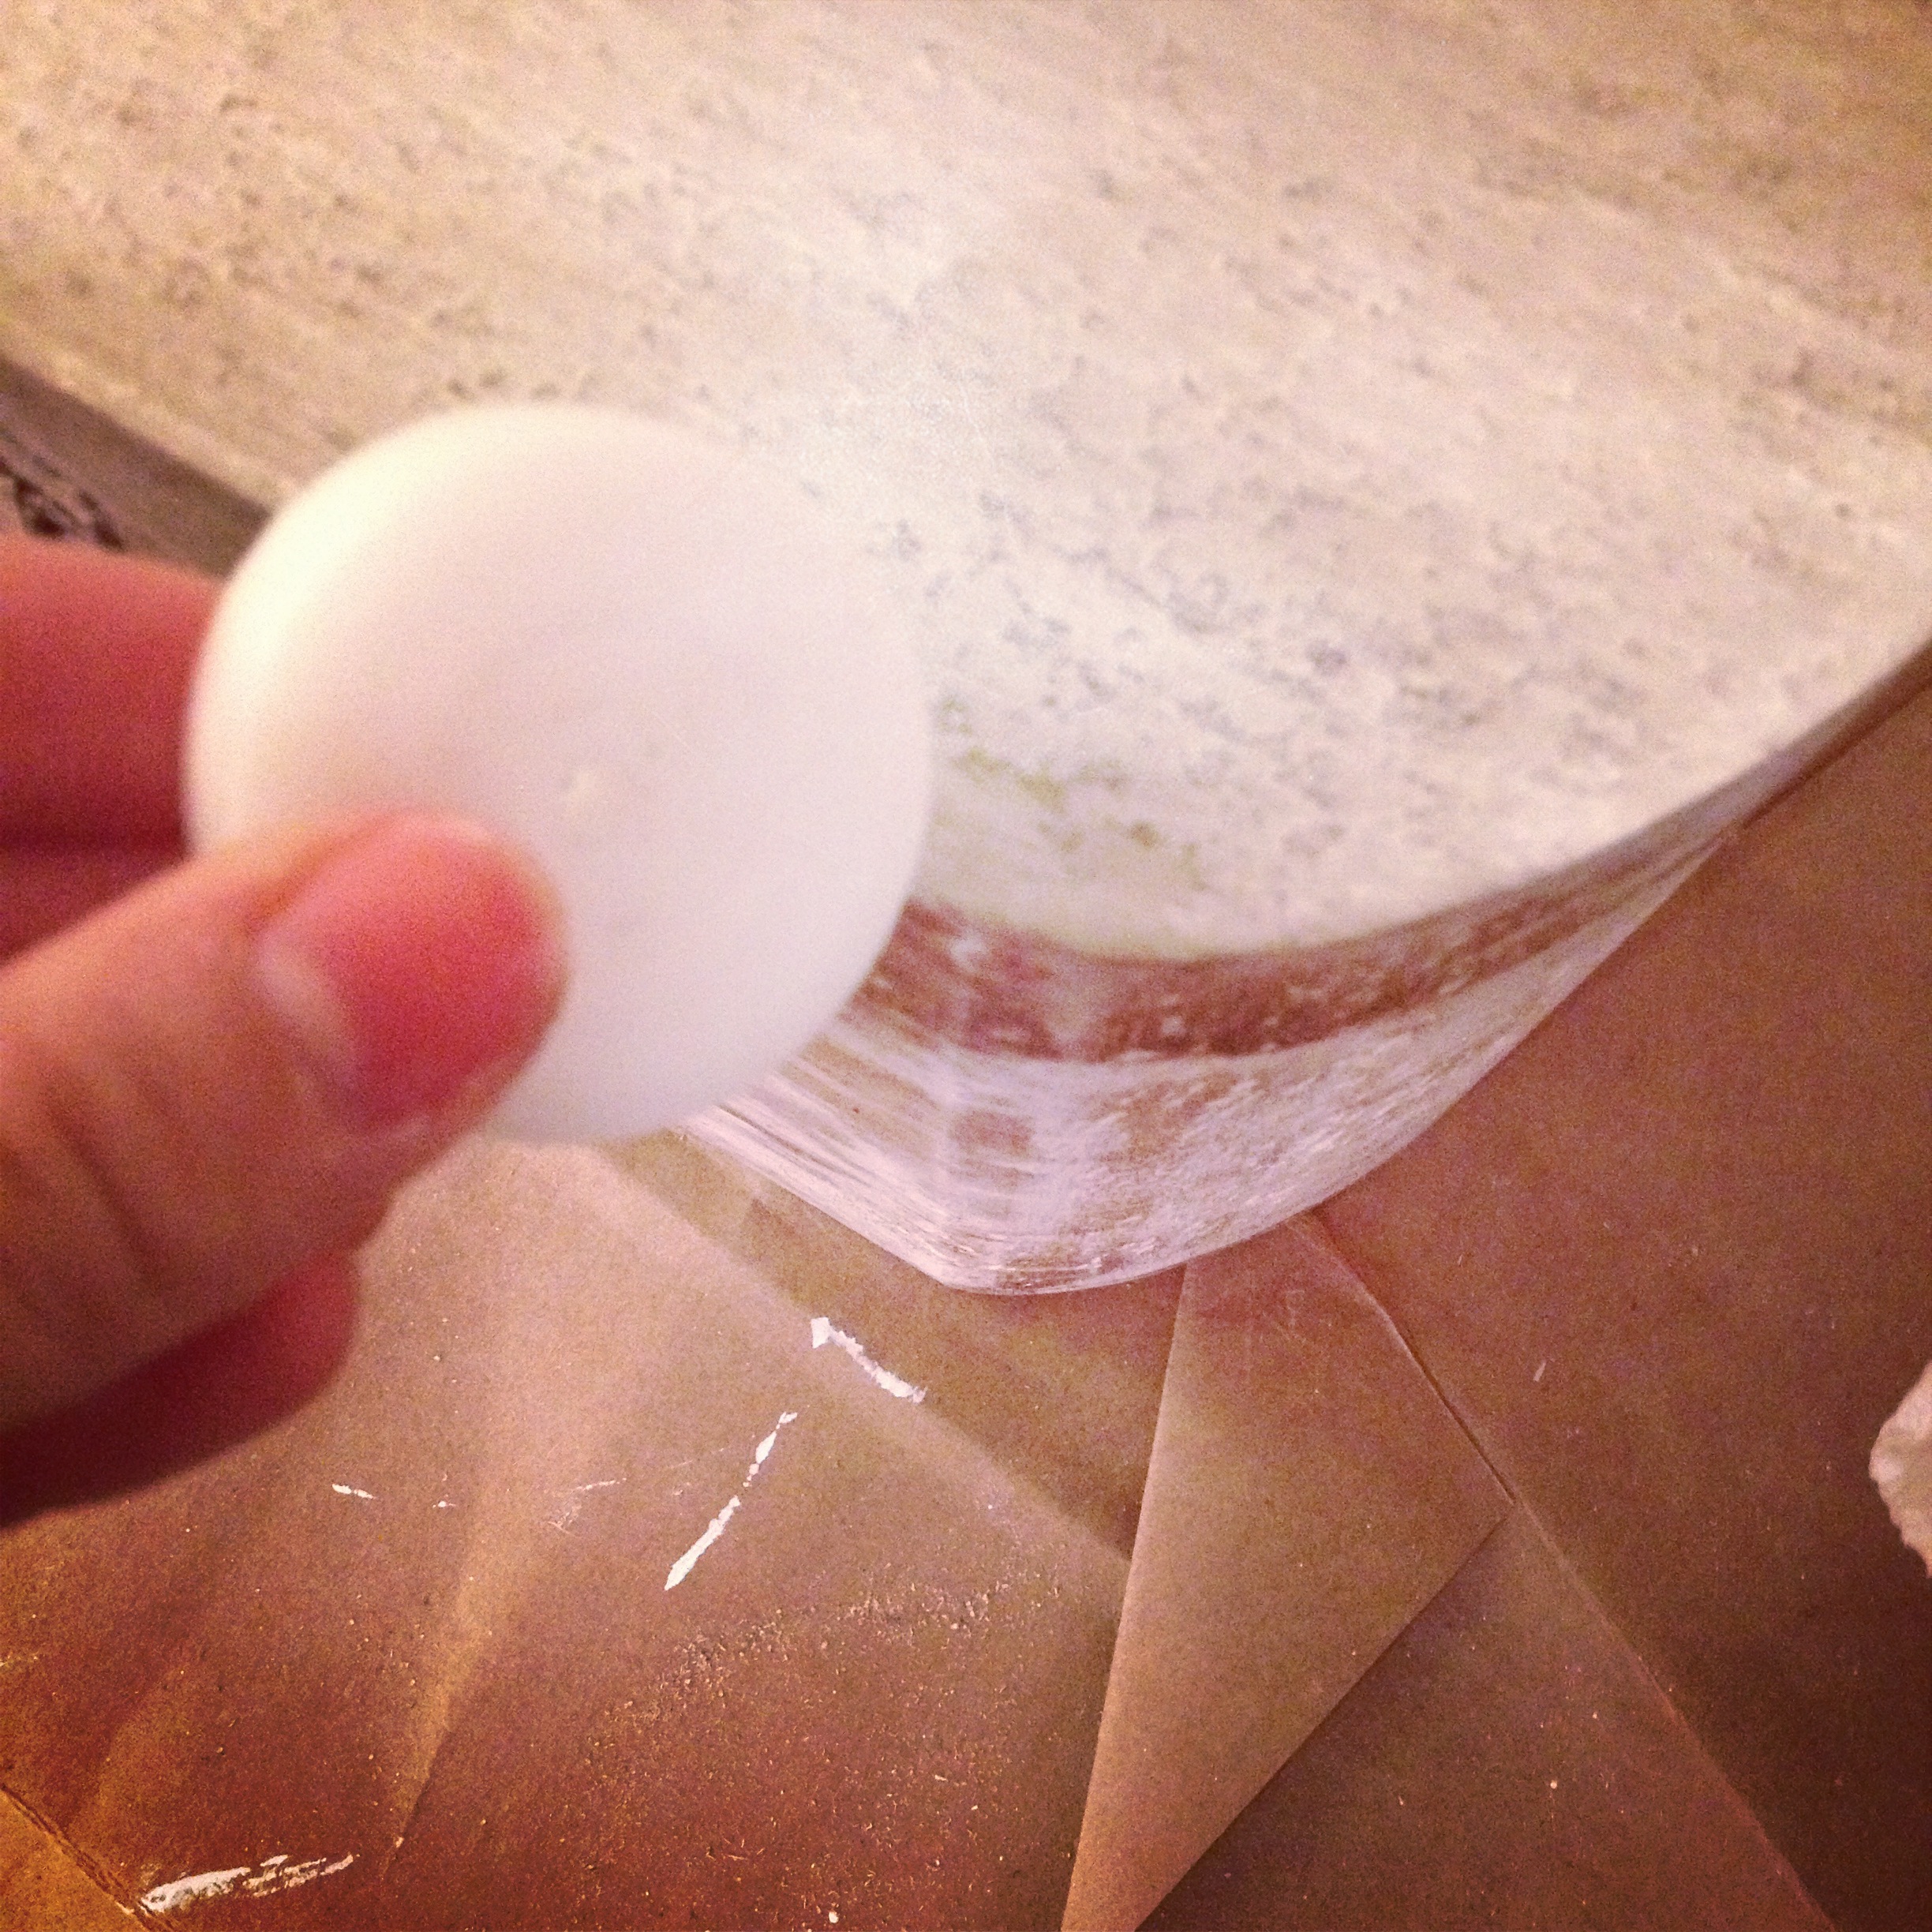
6.  You want to then take either a small butter knife or sandpaper and rub off where the wax was, this will make the white/brown come through.  I ended up sanding this a bit too while it was still drying which came out nice.

7. Enjoy!  All done!

IMG_2296

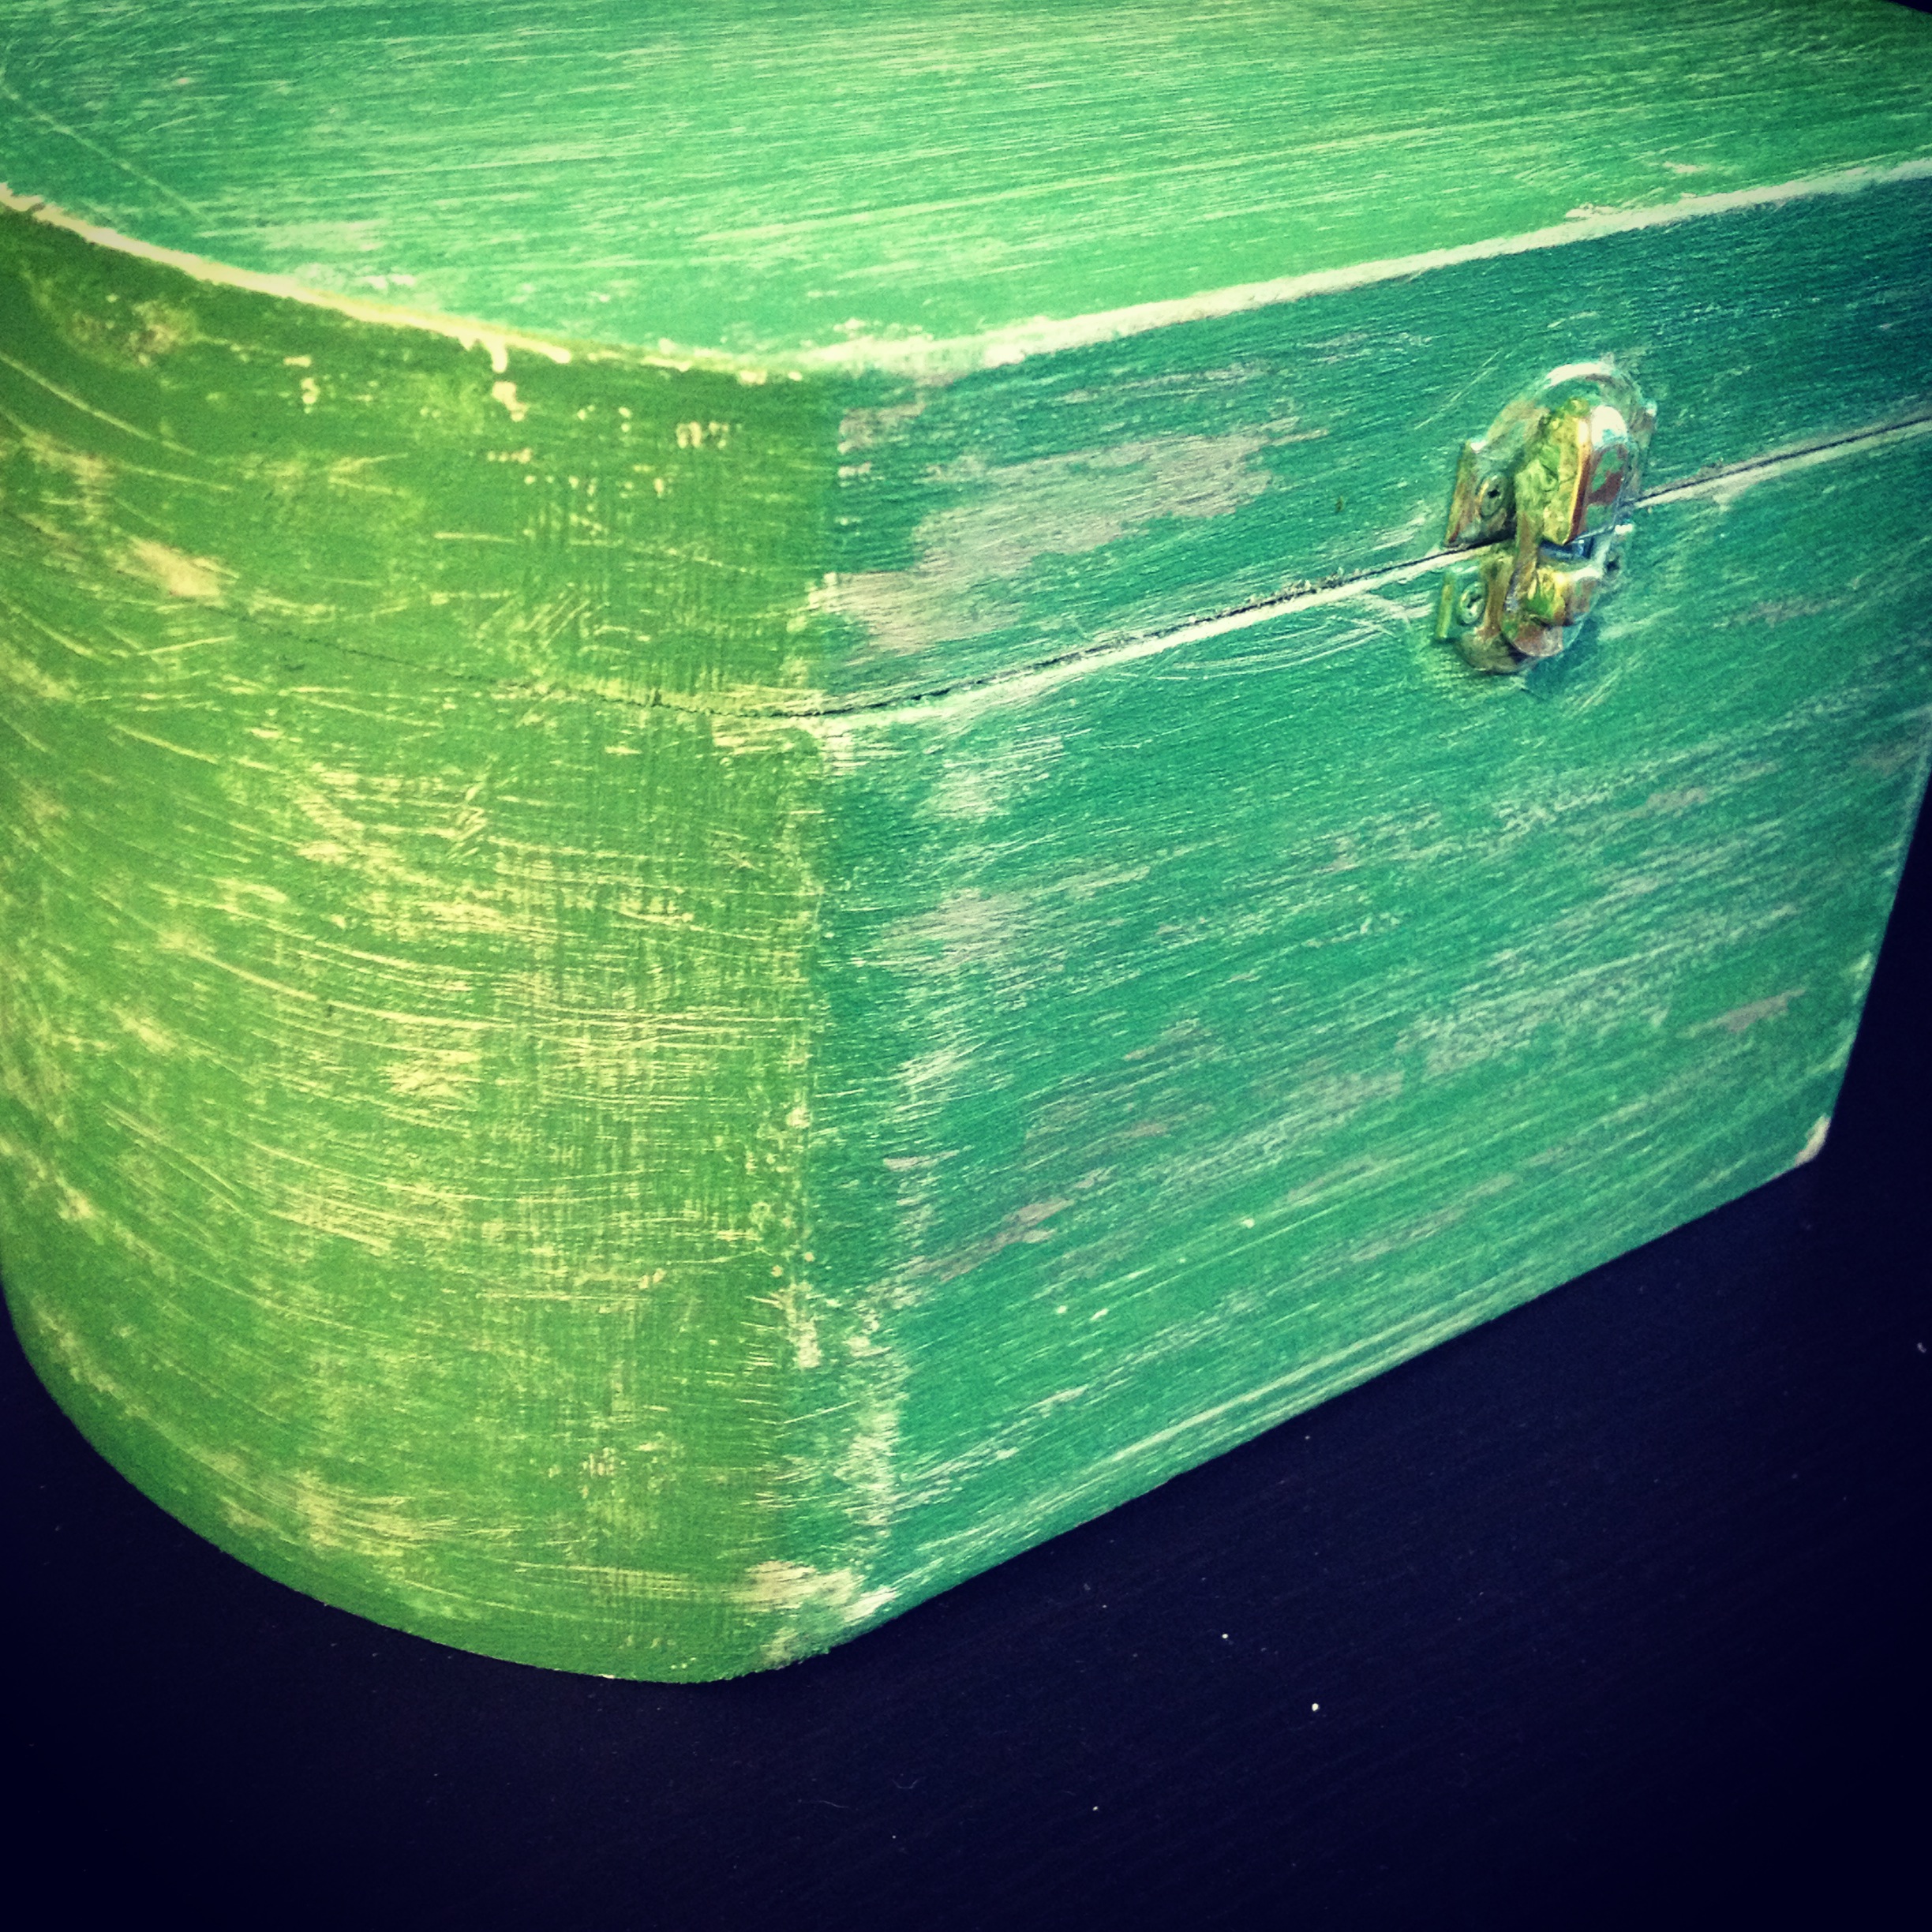
I’m really glad I tested this out on a smaller project.  When I do this next I will use a full brown paint instead of just the stain over white, and I will wax in a lot more places so I don’t have to sand as much after the color layer.  I do think it came out great though.  I’ll use it for Christmas cards!

xo-j

Celtics

Last night we went to the Celtics game which was great!  Jay’s family has season tickets and we are so lucky to get to use them!  Fun Monday night, problem is it made me think today was Friday and it’s Tuesday…yuck.

IMG_2204

IMG_2203

A mini insta vid here

IMG_2173 IMG_2178

And clearly these have nothing to do with the game, they are just from the past couple days…except we did name him Rondo.

xo-j

Wedding Obsessions

This week I have become obsessed with the idea of making a “vintage” door for our wedding…I can’t stop watching tutorials in my spare time.  I love to have a project (can’t stand wasted time sitting around) and this is definitely my next.  Overall, wedding planning has been a blast.  I’m in love with our venue, our florist, and how everything is coming together.  I wanted to share some pictures that have been inspiring me lately for the big day !

old-door-aqua

efbdd427502520ebc89058ab02d65d9e il_340x270.283030810

pink-bl

vintage-wedding-decorations billy-ball-succulent-bouquet-studio-stems-utah-wedding-flowers

suitecase 63c82ceaf8e95d270e960230bb0c0075

Vintage-Wedding-Dress.1
(i already have and LOVE my dress…but this one is so striking)

Anyways, thought I would share some of my favorites.  Crossing my fingers I can make them happen!   Hope everyone has a wonderful weekend!

xo-j

Fall Wreath

Fall is my absolute favorite.  And since it is already Christmas according to stores, I wanted to make a fall craft that wasn’t completely pumpkin centered and would work through Thanksgiving time.  This is a really easy diy that doesn’t break the bank or take up your whole week.  I love how this turned out!  If you feel like making your own for the house or as a sweet gift, the directions are below…

photo 1(7)

WHAT YOU NEED:

photo 2(7)

Yarn – I got a sort of mustard and white really thick knitting yarn
Decorations – I bought a cheap fall bouquet and some berries from Michael’s
Wire wreath base
Scissors

DIRECTIONS:

1. I bought two colors of yarn because I wanted to have a guide for where I would place my decorations.  I did about an 8 inch section of white yarn.  A bit of advice here is to wrap the yarn around your hand and only do small sections at a time.  If you try to use the whole 40 yards you are going to go insane wrapping it, so cut it into smaller sections.  First, as easy as it sounds, make a knot around the wire rim and begin to wrap.  Wrap this section a bit loose but also very thickly so that you will be able to stick your decorations through later.

photo 1(5)
(do you see my special helper in the background?!)

photo 2(5)

2. Take your second color and begin to wrap around the rest of the wreath.  Like I said above, do this in smaller sections, hiding your knots as you go along. Wrap this really tight. I found the best way was to wrap 3-4 ahead and then push them down tightly.

photo 1(6)

3. Here is what you should now have:

photo 2(6)

4. I decided to take the remaining yellow yarn and go over the section again but loose and chunky.  This gives the wreath a lot more character.  (I know, I just said character describing a wreath).  Also, don’t forget to make sure your dog is badgering you the ENTIRE time and stealing your yarn.

photo 3(4)

5. Now decide how you would like your decorations to look.  I did mine first on the table so I could see how they looked best, then began to stick them through the white portion of the wreath.  I cut up the bouquet making sure to give myself enough wire on the back of each flower to wrap it through…

photo 4(1)

photo 3(5)

6.You are done!  Now hang it up or give as a gift!

photo 1(7)

xo-j

Best Turkey Burgers

Since we are a no-beef house I’m always trying to find new recipes for chicken and turkey that don’t take a ton of time, but are really tasty.  I loosely based making some turkey burgers last night on my meatballs and whoa, so good.  I’m all about easy and not having to go buy bizarre ingredients that cost way too much (why does every food network recipe require me to spend $60 on spices I will never use again?!).  Here ya go:

TURKEY BURGERS

What You Need:

photo 2(3)

1 pound ground turkey (I use the white meat 93% fat free super healthy one)
1/8 cup breadcrumbs
1 egg white
1 tsp onion powder
1/8th cup chopped parsley
1 clove diced up garlic
1/2 tsp salt
1/4 tsp pepper
1/8th cup Worcestershire sauce

DIRECTIONS:

1. Mix everything together in a bowl except the Worcestershire sauce

photo 1(3)

2. Once that is all mixed up really well, then pour the W. sauce on top and mix it all again.

photo 3(2)

3. Make that disturbing looking meat into some patties!

photo 1(4)

4. Cook the burgers in a pan.  I used about 2 tbsp of olive oil.  Heat the oil first, then add burgers.  Cook them for 2 minutes on one side and then flip (this way both sides get brown and they don’t fall apart).  Flip them a couple times through the cooking (about 15 minutes on med-high with cover)

photo 2(4)

5. Add your toppings!  I used munster cheese and made some sauteed spinach (with soy and garlic powder)

photo 3(3)

6. Enjoy that amazing (and healthy) turkey burger on a toasted bun!

photo 4

Promise you, these are awesome.

xo-j

Lately

I was in NYC again last week for work for only 24 hours but I was able to cram in two lunches with my favorite lunch partner, and most importantly found my bridesmaid dresses with Lauren and Adie!  I wish I could share pictures of that, but it’s a secret (plus, I was able to try on my dress next to them so I really can’t share any pics!).  Here are some other pics from life lately…

photo 2

photo 3 photo 3(1)
(halloween treats are the best)

photo 1(1)

photo 1(2) photo 2(2)

photo 2(1)

xo- j


Chowdahhh

Since it’s started to get cold here I keep having cravings for soup.  Anyone who has ever met Jay knows he is obsessed with soup (it’s weird) so it works out when I get the urge to try out a new one! This weekend, while Reggie was visiting (!!), I decided to try out a clam chowder crock pot recipe, and oh man, so good.  I did make some changes to the recipe and thought I would share what I did…

CLAM CHOWDER in the CROCK POT

WHAT YOU NEED

4 – 6 1/2 oz cans of minced clams (with the juice)
1 cup chopped onion
5 potatoes chopped up
2 cups water
1 cup chicken stock
3 1/2 tsp salt
1 tsp black pepper
1 cup half & half
3 cups milk (I used skim)
5 tbsp corn starch
Parsley for garnish

(The recipe called for 8 potatoes, 3 cups water (no stock), 1/4 tsp pepper, 4 cups half and half, and 3 tbsp corn starch…I read a bunch of the comments and ended up using the mix of recipes and it came out perfect.  I can’t imagine fitting more than the 5 potatoes in the soup!)

DIRECTIONS

1. Chop up your onion

2. Chop up your potatoes (I left the skin on)

IMG_1846 IMG_1845

3. Cook your bacon in a pan until it is nearly done.  Then add your onion to the pan and allow to cook until soft (about 5 minutes) with the bacon.  Then remove from heat and crumble/chop up the cooked bacon.

IMG_1842

4. Add the clams, bacon, onion, potatoes, s&p, water, & stock to the crock pot.  DO NOT add the milk or corn starch.  Allow this to cook on high for about 4 hours.

IMG_1847 IMG_1848

5. Once the soup has cooked for 4 hours, mix 1 cup half & half with the cornstarch and add it to the soup.  Continue to cook for another hour.

6.  My crock pot by this point was completely filled to the brim, so once I had allowed the corn starch mix to cook for an hour I poured the soup into a big pot and added the remaining 3 cups of milk then.  I allowed it to heat up on the stove for about 15 minutes.

IMG_1849

7. Cut up some bread and enjoy!  I ended up loading a ton more black pepper and hot sauce into my own bowl, but each person likes their own level of spice so I didn’t add it to the full pot.

IMG_1851 IMG_1850

IMG_1852

If you have the time on a Sunday to chop things up and wait for this to cook, it is totally worth it!

xo – j

Panda

IMG_1751

When I told you we have had visitors every single weekend, I wasn’t kidding.  It has been awesome having all our friends come to visit our new place.  It also makes us (I’m guessing Jay too) feel really special that everyone is willing to travel here to see us.  We love you guys!

Last weekend Amanda came to visit from DC!  We’ve been friends since 1st grade which is basically forever! We went on a hike to the top of Blue Hills on Saturday morning.  Rondo was in heaven!

IMG_1790

IMG_1793 IMG_1788
(i made almond croissants (ok i heated them), she bought us the amazing stamp you see in the corner there!)

IMG_1735

Love you Panda!  Thank you for coming!

xo- j

New York

All these posts are so behind!  Last week I was in NYC to train for my new job all week and before last week mania with visitors, wedding, and a really sad loss in our family.

As far as the new job goes,  there is a lot to learn!  It was so fantastic to spend some time with my family and see my friends while I was down in NYC.  Luckily for this new position I will be back in NYC quite a bit so I won’t have to miss anyone too much!

IMG_1677

IMG_1774 IMG_1679 IMG_1783
(lunch with lunch bff, and dinner with my girls (and tom!))

IMG_1775(following my babes to dinner…and on the way we saw Taza’s husband! Adie and I are in love with them)

IMG_1773
(drinks in bryant park)

IMG_1792 IMG_1776

See you in a few weeks NY!

xo – j

Surprise (& cornhole)

Last Thursday I went out with an old friend for lunch and had so much fun catching up.  We talked about weddings, life in Mass, how our friends are doing, and had maybe a few too many brews for lunchtime.  Anyway, we came back and were hanging at my house waiting for Jay to get home.  Jay came in like everything was normal, taking off his shoes, talking about work, and then suddenly the doorbell rang.   I went to answer and it was TOMMMM!  I have been whining for him to visit since we moved and he told me he couldn’t come for months because of busy weekends, but there he was.  I was so excited I cried (seriously cried).   We ended up having such a great weekend together staying in our new town, enjoying the house, and even going to a cornhole tournament.  Tom, I love you bud, thanks for making me so happy and being such an amazing friend to both of us.

IMG_1360
(cornhole!)

IMG_1225 IMG_1338 IMG_1315
(ron’s favorite is jumping on backs, and homemade picklebacks with tom!)

IMG_1379
(our house ready for fall)

IMG_1416 IMG_1409 IMG_1417
(our little turtle i finally let go, and nash helping me walk rondo)

IMG_1422
(attempting to use the force to get my banana…he’s obsessed with them)

IMG_1431
(our beautiful backyard!)

This weekend I have my best friend coming to visit!  I couldn’t be more excited to see her!!

xo-J