
Fall is my absolute favorite. And since it is already Christmas according to stores, I wanted to make a fall craft that wasn’t completely pumpkin centered and would work through Thanksgiving time. This is a really easy diy that doesn’t break the bank or take up your whole week. I love how this turned out! If you feel like making your own for the house or as a sweet gift, the directions are below…

WHAT YOU NEED:

Yarn – I got a sort of mustard and white really thick knitting yarn
Decorations – I bought a cheap fall bouquet and some berries from Michael’s
Wire wreath base
Scissors
DIRECTIONS:
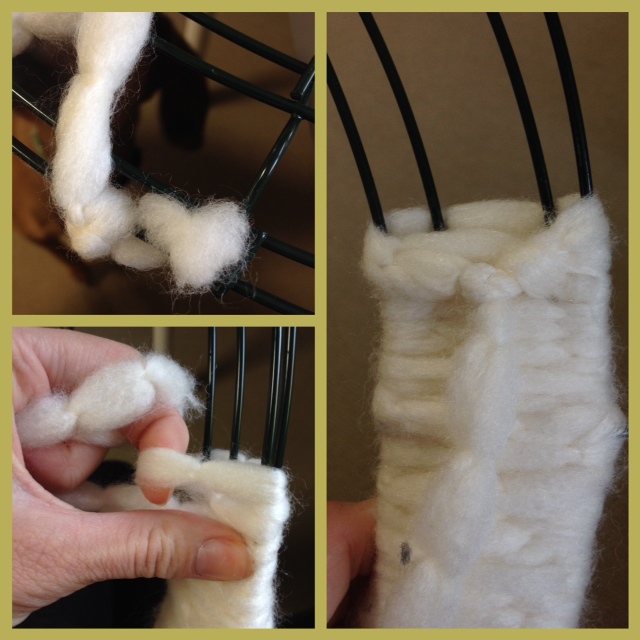
1. I bought two colors of yarn because I wanted to have a guide for where I would place my decorations. I did about an 8 inch section of white yarn. A bit of advice here is to wrap the yarn around your hand and only do small sections at a time. If you try to use the whole 40 yards you are going to go insane wrapping it, so cut it into smaller sections. First, as easy as it sounds, make a knot around the wire rim and begin to wrap. Wrap this section a bit loose but also very thickly so that you will be able to stick your decorations through later.
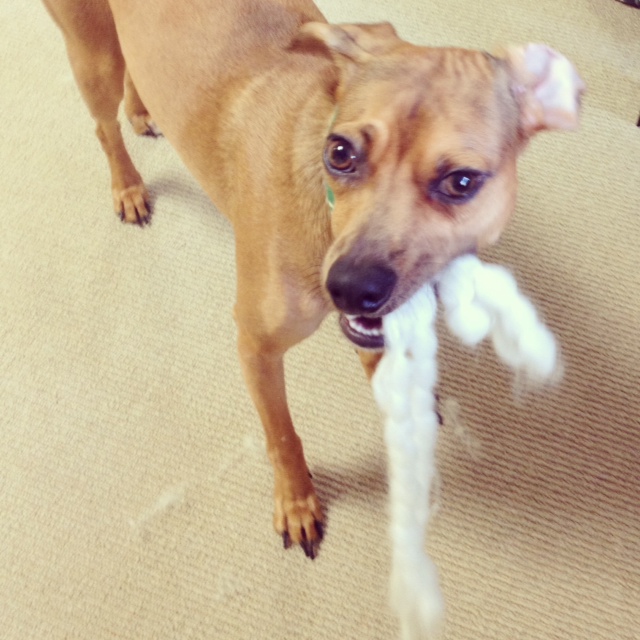
(do you see my special helper in the background?!)

2. Take your second color and begin to wrap around the rest of the wreath. Like I said above, do this in smaller sections, hiding your knots as you go along. Wrap this really tight. I found the best way was to wrap 3-4 ahead and then push them down tightly.
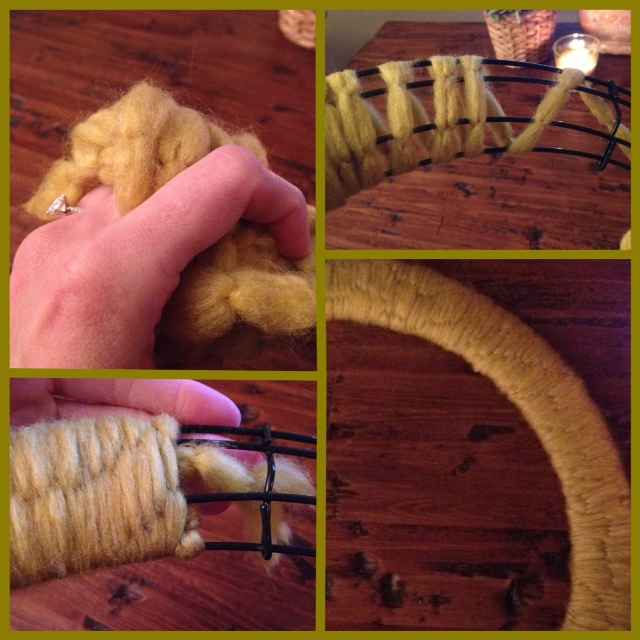
3. Here is what you should now have:

4. I decided to take the remaining yellow yarn and go over the section again but loose and chunky. This gives the wreath a lot more character. (I know, I just said character describing a wreath). Also, don’t forget to make sure your dog is badgering you the ENTIRE time and stealing your yarn.
5. Now decide how you would like your decorations to look. I did mine first on the table so I could see how they looked best, then began to stick them through the white portion of the wreath. I cut up the bouquet making sure to give myself enough wire on the back of each flower to wrap it through…

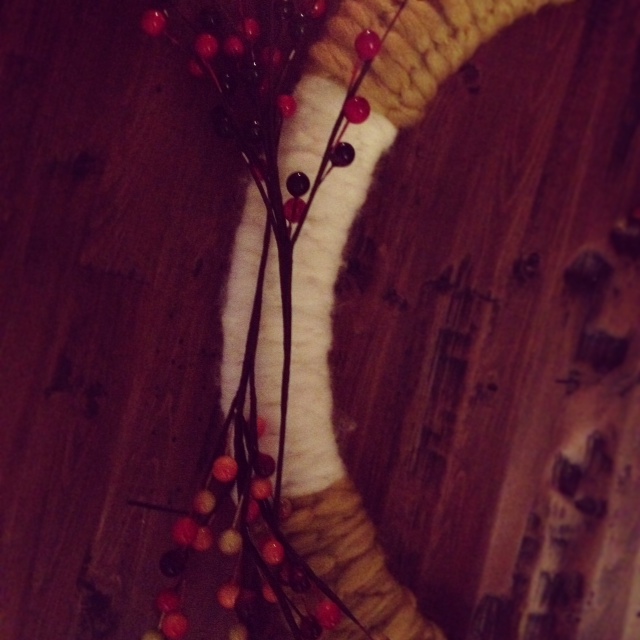
6.You are done! Now hang it up or give as a gift!
xo-j


